Revision - dismantling the engine of the Vespa V50 / PK 50 S-XL2
This guide explains how to disassemble a Vespa Smallframe engine step by step as part of a revision.
Although the video shows disassembling a Vespa PK 50 XL2 engine, the instructions also apply to Smallframe engines of the PK 50-125 S/XL and the Vespa 50. The Smallframe engines are virtually identical except for some details. A revision becomes necessary at the latest when problems with false air that cannot be fixed from the outside occur, or when a change of ball bearings is necessary, if something is blocking inside the engine, or if it is leaking and losing gearbox oil.
All steps at a glance
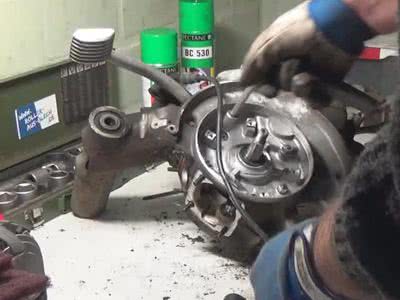
To loosen the four nuts at the cylinder base, the flywheel is first removed because the Elestart ring gear obstructs access to the front two nuts. Removal of the flywheel is accomplished using a flywheel puller. With the flywheel removed, the ignition, which is secured to the engine housing with three slotted screws, can be removed from the engine housing.
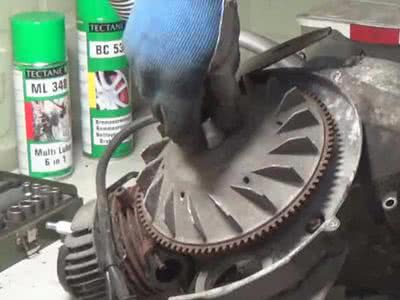
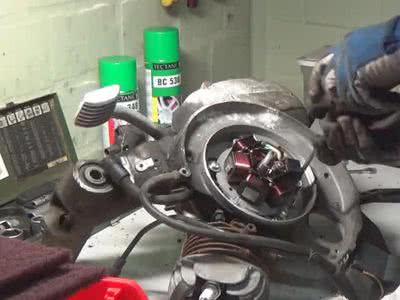
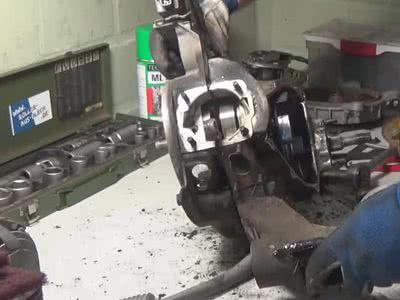
Now all four nuts at the cylinder base can be unscrewed. Then pull off the cylinder upwards and remove the piston from the crankshaft. The piston pin is secured on each side by a circlip. Remove these two circlips using suitable circlip pliers.
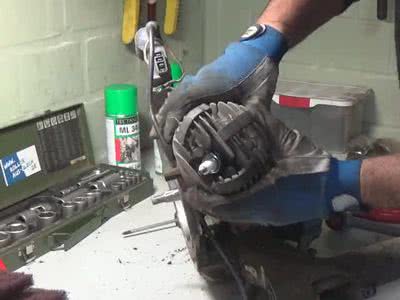
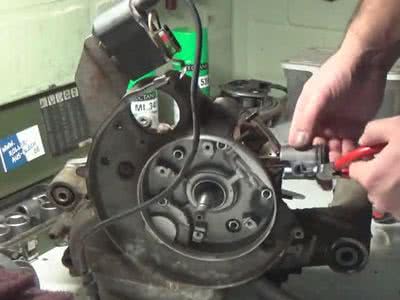
The brake drum is removed to access the brake backing plate underneath. Then loosen the three screws of the brake backing plate and remove the entire brake backing plate from the engine housing.
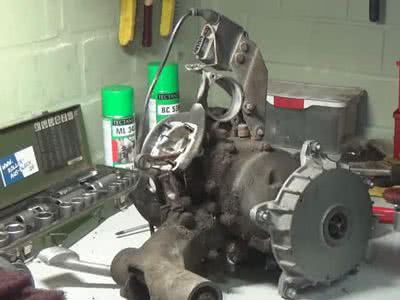
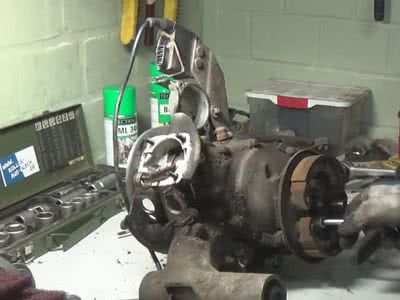
Then remove the clutch cover, remove the pressure plate, and remove the clutch using a clutch puller.
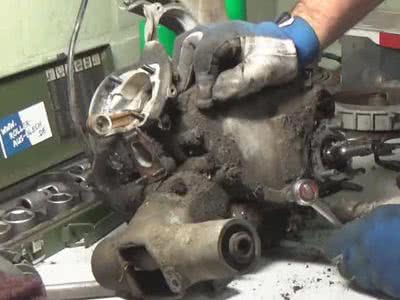
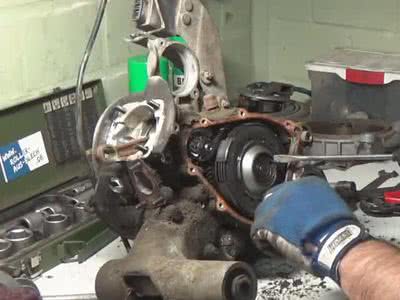
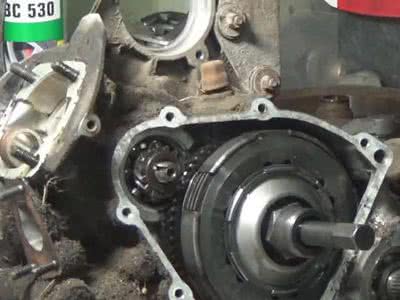
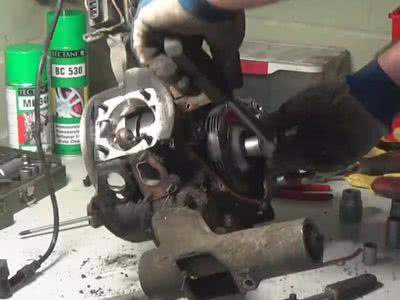
After removing the clutch, the primary pinion is dismantled, which is bolted to the crankshaft.
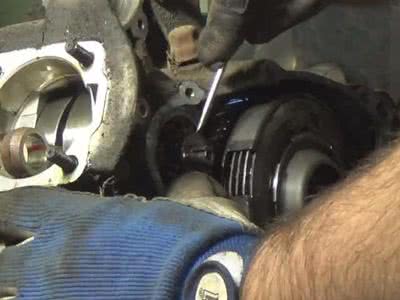
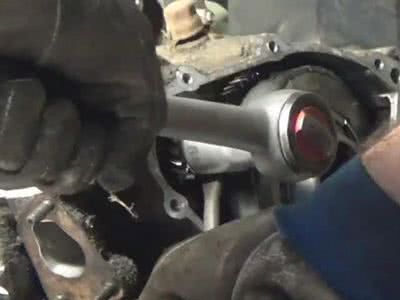
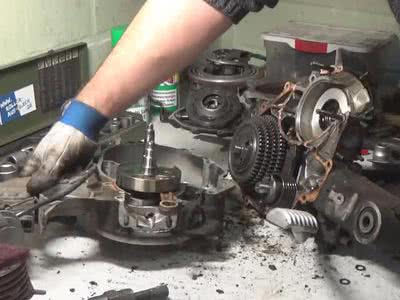
After the centering bolt and nuts of all engine bolts have been loosened, the engine halves can be split and disassembly continued inside. The splitting process can be facilitated by operating the kickstarter. The housing should never be levered.
How much does an engine revision cost?
The complete overhaul of a Vespa engine depends on the hourly rate of the workshop and the work to be carried out. For disassembling the engine, replacing the oil seals, ball bearings, and rubber parts, and assembling the engine, you should plan for about five hours. This would result in around €300 plus VAT at an hourly rate of €59 net (that's what my plumber charges) for 5 hours, with the cost of spare parts to be added. The time and cost increase if the shift fork needs to be overhauled and if repairs need to be made due to rounded nuts, seized engine bolts, damage to the engine housing, etc. Not to mention tuning measures.
DIY
The configurable engine revision kit allows the guided compilation of the parts necessary for an engine revision.
Further Notes
- If the engine has already been disassembled once, all wear parts should be replaced
- Before disassembly, the gear oil should be drained.
- Cleaning the engine before disassembly can help reach some screws and nuts hidden under dirt.
- All required Vespa spare parts are available in the shop.
