Carburetor cleaning
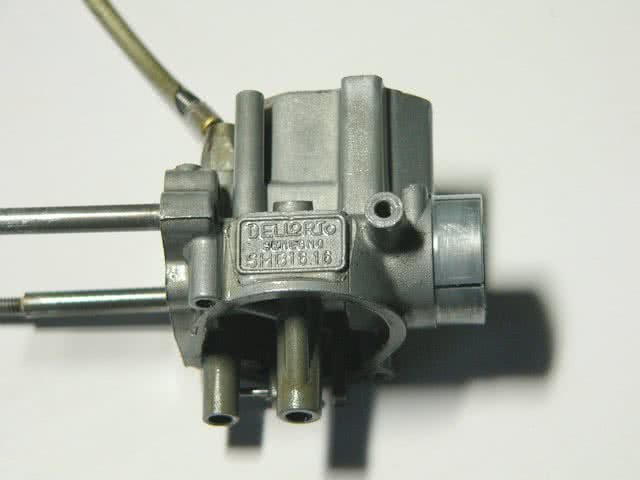
A properly functioning carburetor is crucial for the performance of the Vespa engine. This article guides you through the steps and methods for cleaning a Dellorto SHB 16.16 type carburetor, which is often installed in Vespa 50 and PK 50 models.
Disassembling the Carburetor and Removing Major Contaminants
Before disassembling the carburetor, major dirt should be removed with brake cleaner and a brush. This prevents dirt from the outside from entering the cleaned interior later on.
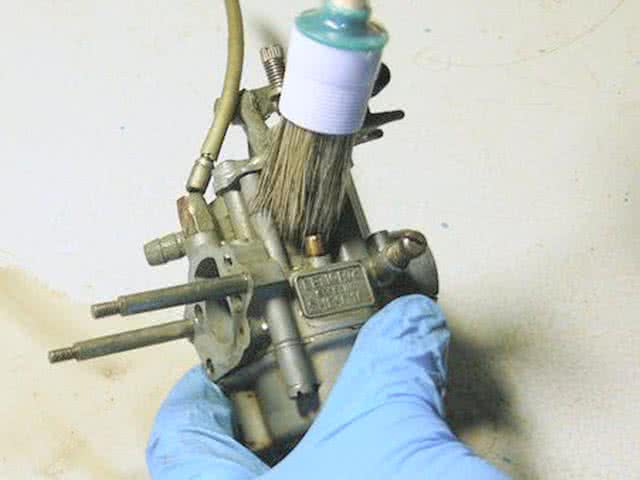
The workspace should be well-prepared, with sufficient light and enough space to work. Lay out cleaning cloths where the individual parts of the carburetor can be placed.
Float Chamber and Jets
Don't worry about the individual parts. The carburetor is designed so that each part fits only in a certain place.
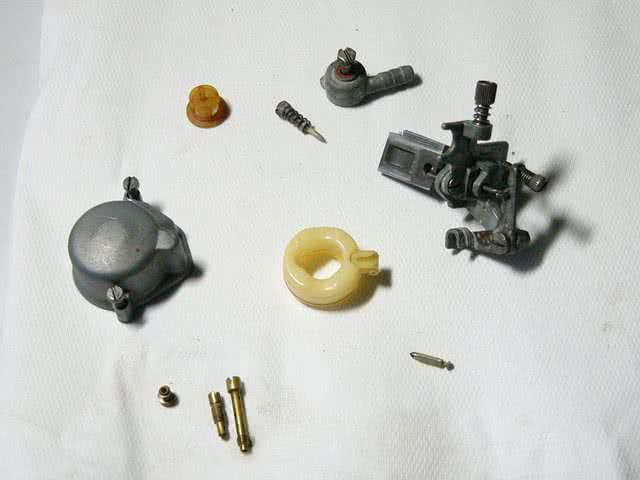
After removing the float chamber, the float, main jet, and choke jet become visible.
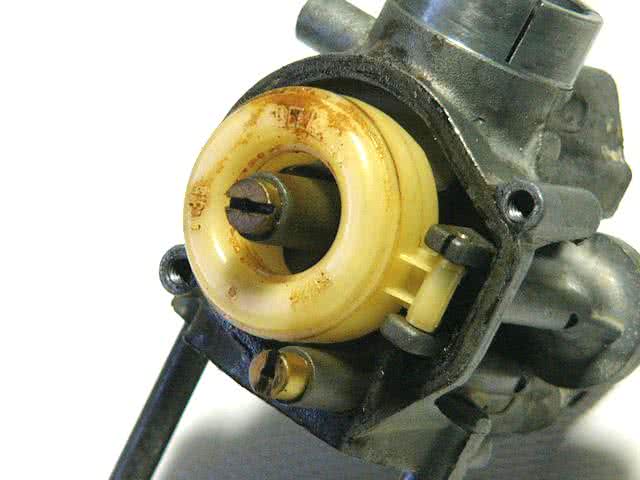
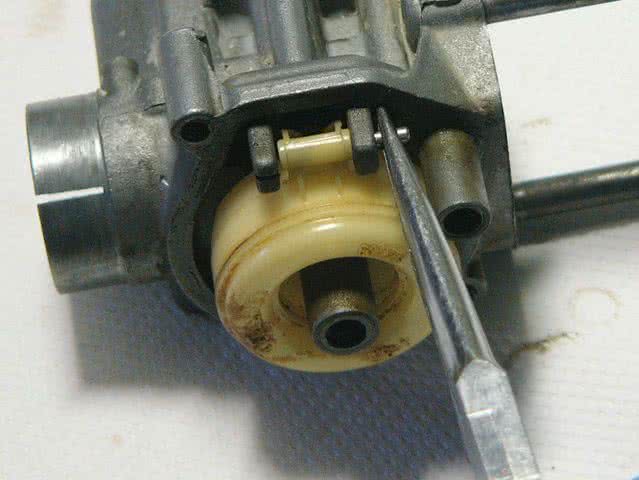
The jets are unscrewed with a screwdriver. The float can be removed by pressing the float pin from the slotted side and then pulling it out with needle-nose pliers. Be careful not to damage the delicate float needle.
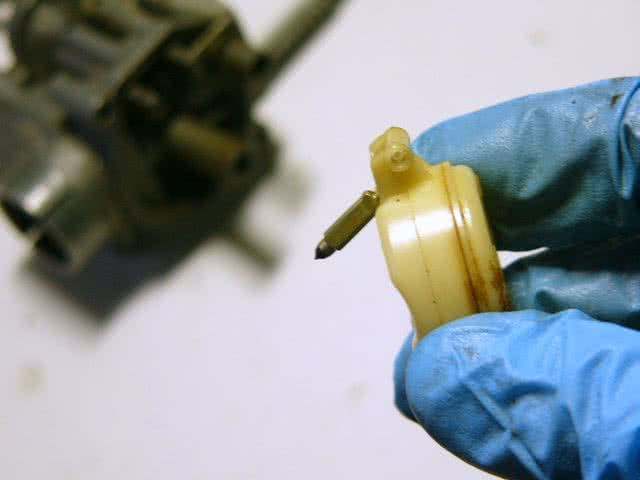
Barely visible wear can already cause the carburetor to overflow. Worn parts should be replaced. The float can be cleaned. If there is suspicion of a leaky float, an underwater test can be performed.
Cleaning
Cleaning the carburetor can be done with a special carburetor cleaner designed for carburetor dirt, which is much more effective than conventional brake cleaner.
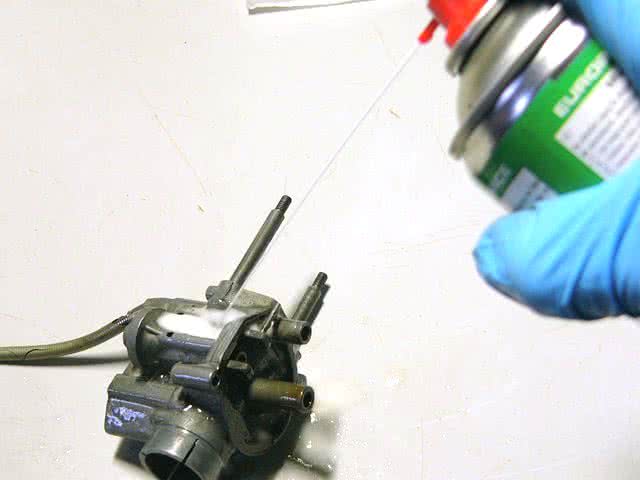
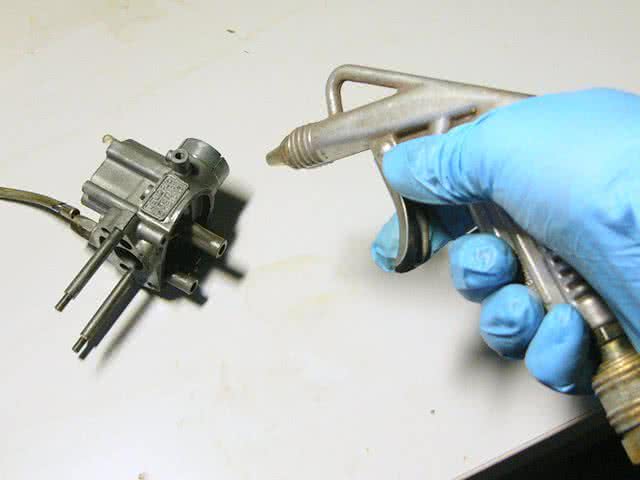
Soaking improves effectiveness, and finally, all passages should be blown out with compressed air.
The old carburetor can look so nice again.
Avoid cleaning the jets with wire, as this could damage the precise bores. If the jets are free from damage and blockages, they can be reused.

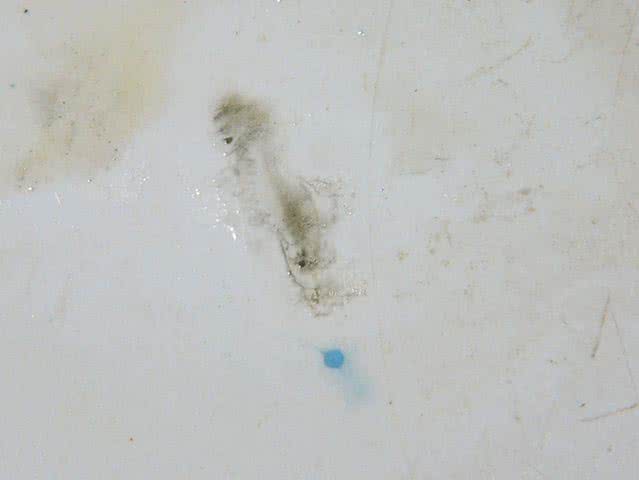
The jets were quite dirty, as can be seen from the remaining dirt.
Replacing Seals
After cleaning, the seals on the carburetor should be replaced. Even if they appear intact at first glance, they may have become brittle and lost their sealing effect.
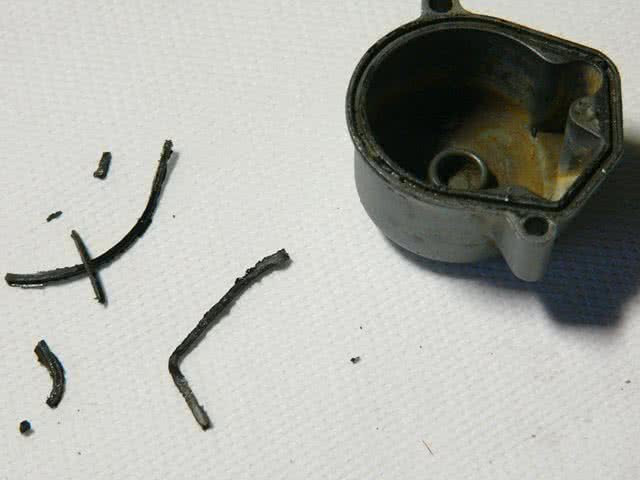
The seal of the float chamber of the example carburetor appeared to be in good condition at first glance. Only after disassembly and cleaning, it turned out to be brittle and thus lost its sealing effect.
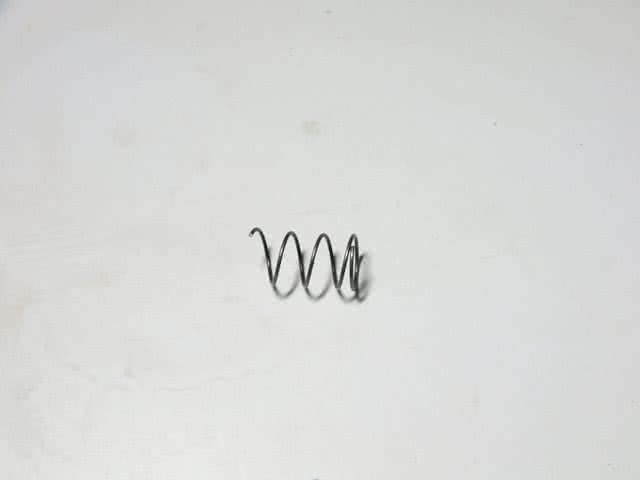
The cleaned carburetor exhibited the symptom that the throttle stop screw had to be screwed in very far.
Further Notes on Carburetor Cleaning
Do not use alkalis or acids, as they could damage the fine structures of the carburetor. Professional ultrasonic cleaning or a combination of carburetor cleaner, brake cleaner, and compressed air is recommended.
Follow these steps to ensure that your carburetor functions optimally and your engine runs smoothly.
